Apply effects to photos and create a contemporary pattern using a brush. In this Photoshop tutorial, you will practice several techniques to create this Photoshop illustration. This tutorial is recommended for experienced Photoshop users because it uses a wide variety of filters and tools.
Street Dance Illustration Photoshop Tutorial
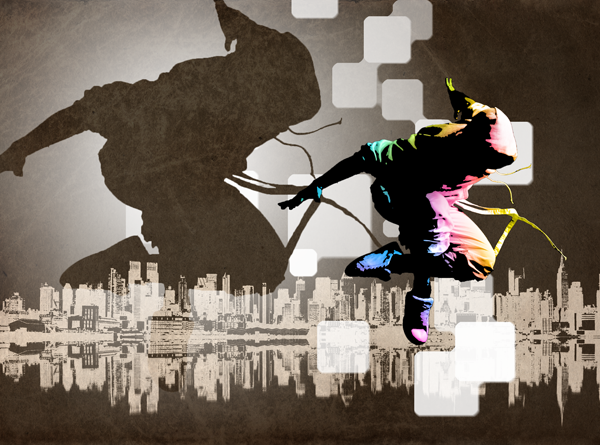
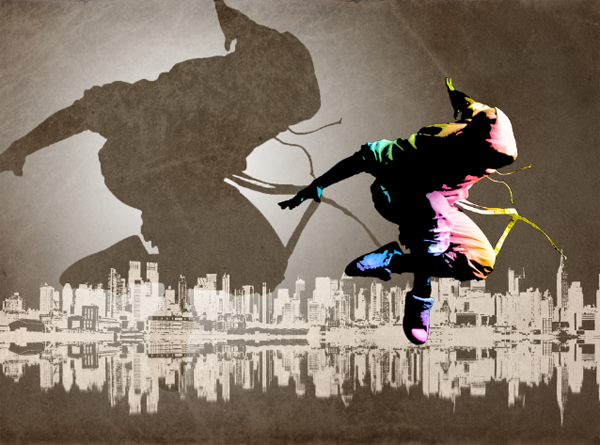
Preview of final results
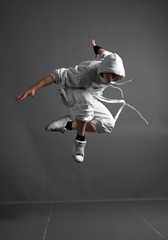
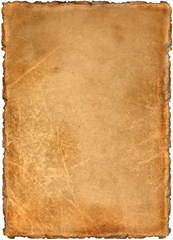
Stock images used in this tutorial
These are the stock photos that were used in this Photoshop tutorial. You can purchase the same stock photos used in this tutorial or use your own photos. All you need is a photo of a skyline, old paper texture, and a dancer showing his best move.

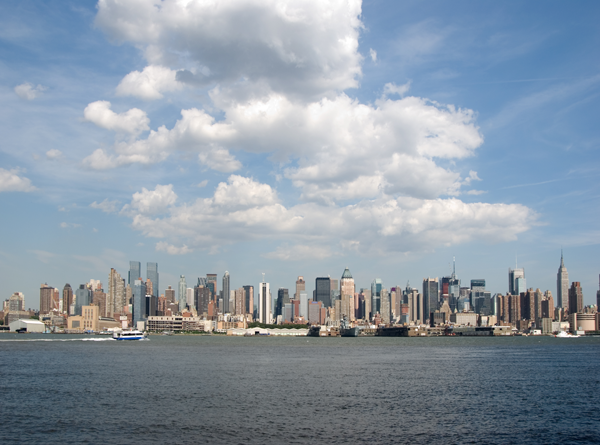
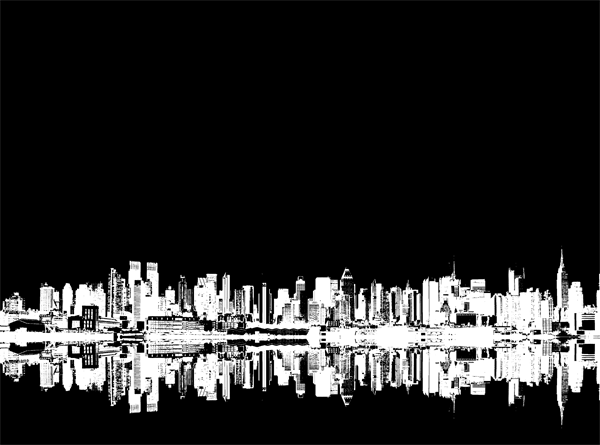
Step 1 – Open the city skyline photo
Start by opening the photo with the city skyline.
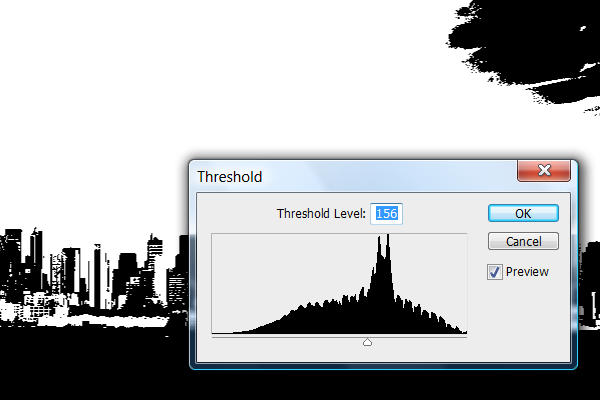
Step 2 – Create a photocopy effect with the threshold tool
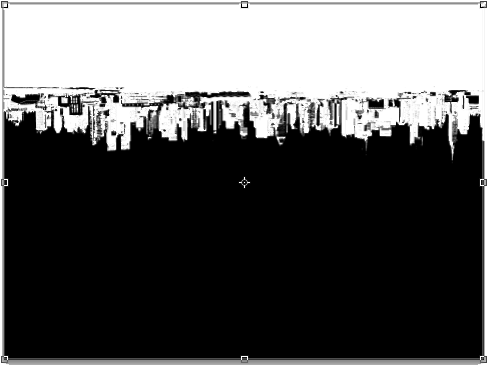
Choose Image > Adjustments > Threshold and adjust the setting to get a clean
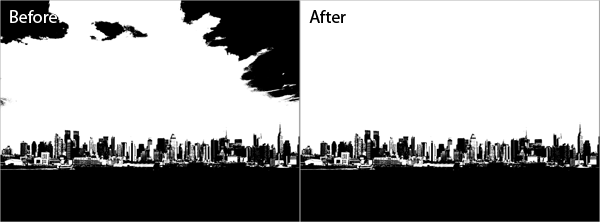
Use the brush tool to erase the clouds so that the sky is all white.
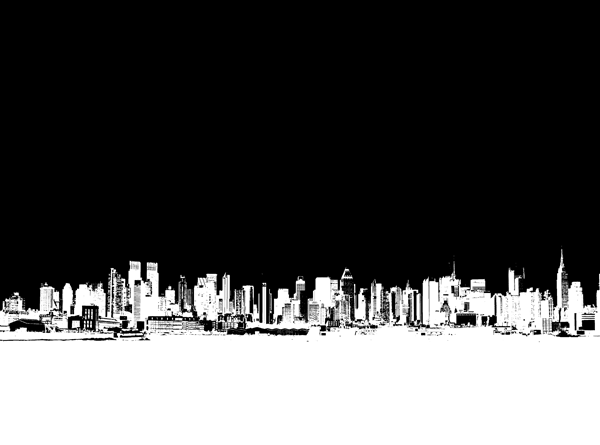
Finally, choose Image > Adjustments > Invert to invert the layer.
Step 3 – Create a water reflection
Press Ctrl+J or choose Layer > Duplicate to duplicate the layer.
First, activate the transform tool by pressing Ctrl+T or choosing Edit > Free Transform. Then, choose Edit > Transform > Flip Vertical. Press enter to exit out of the transform tool. If you don’t activate the transform tool before you flip the image, it’ll flip all the layers instead of just the layer that you are working on.
Select the rectangular marquee tool and create a selection from the top to the horizon of the city skyline.
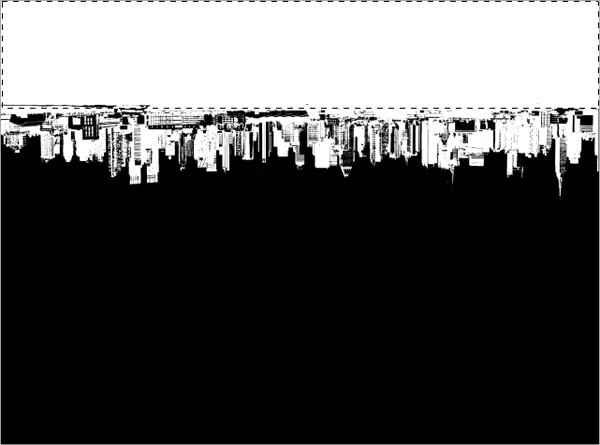
Press delete or choose Edit > Clear to clear the selected. Press Ctrl+D or choose Select > Deselect to deselect the selection.
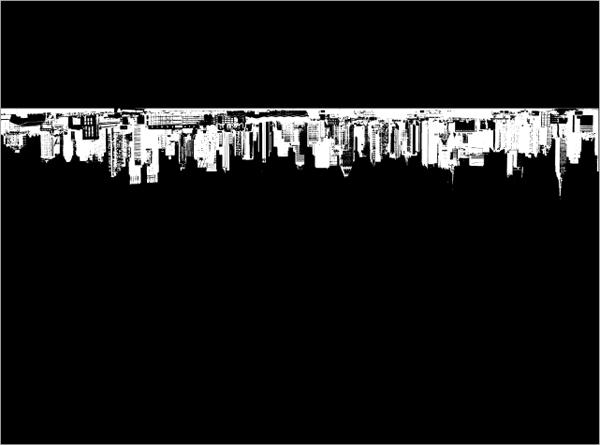
Select the move tool then click and drag on the document window to move the upside down skyline below the horizon.
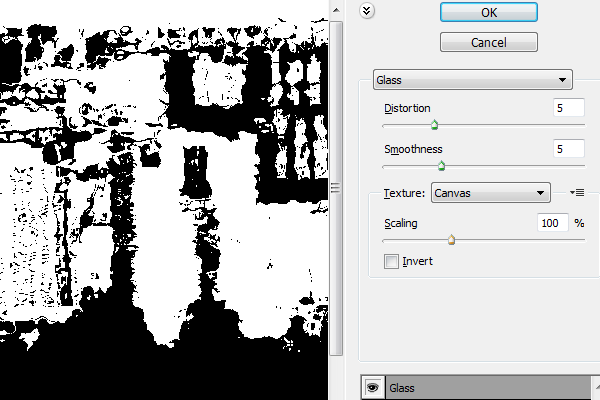
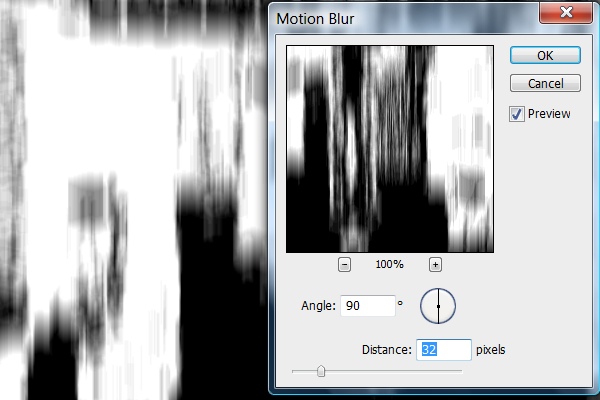
Step 4 – Apply effect to the water reflection
Press Ctrl+J or select Layer > Duplicate Layer to duplicate the current layer. This layer will be used to create the distorted water reflection effect.
Choose Filter > Distort > Glass. Adjust the settings so that you get a ripple effect like the image below.
Choose Filter > Blur > Motion Blur. Set the angle to 90º and adjust the distance setting to get a blur like the image below.
Step 5 – Mask the distorted reflection effect
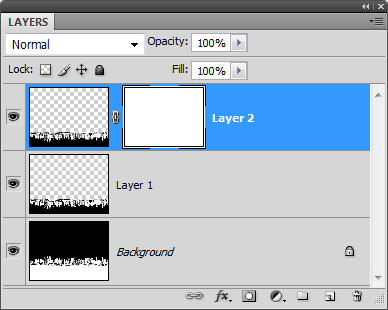
Select the gradient tool and apply these settings:
- Gradient: Black, white (with reverse setting enabled)
- Style: Linear
- Mode: Normal
- Opacity: 100%
- Reverse: Enabled
- Dither: Enabled

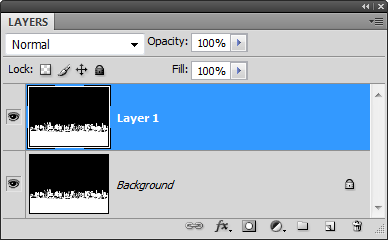
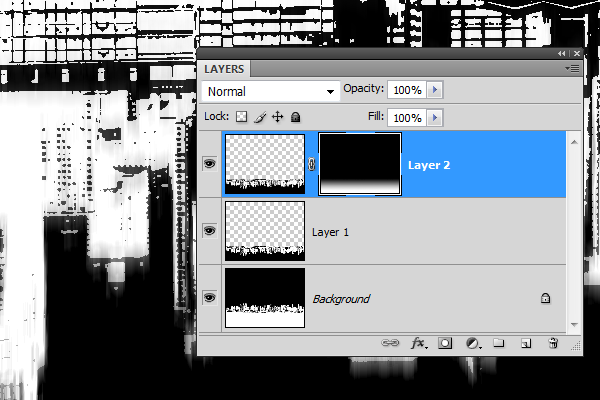
Make sure that you have the layer mask selected. It should have a white border in the layers palette like the image below. Draw a gradient by dragging a line from the horizon to about 25% from the bottom.
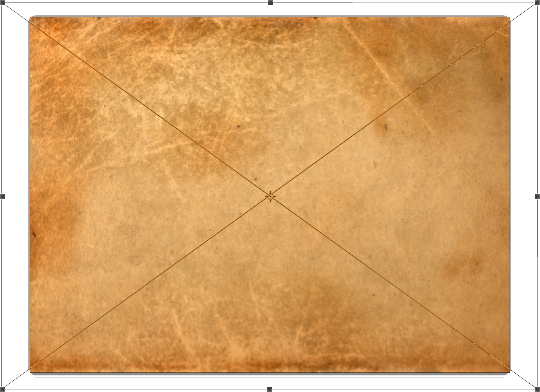
Step 6 – Place the old paper texture
Currently you have the layer mask selected. Before you can use the place command, you’ll need to deselect the layer mask. Simply click on the thumbnail of top layer (not its layer mask) to deselect the layer mask.

Choose File > Place, browse for the image file of the old paper texture, then click OK. Scale the image so that it covers the entire image then click enter to apply the changes.
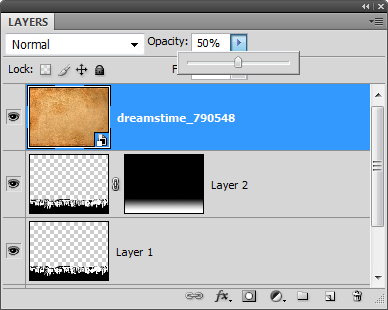
Step 7 – Blend the paper texture
Set the opacity of the current layer to 50%.
Choose Layer > New Adjustment Layer > Hue/Saturation to add a new hue/saturation adjustment layer. It should appear as the top layer. Adjust the color and saturation to your likings.
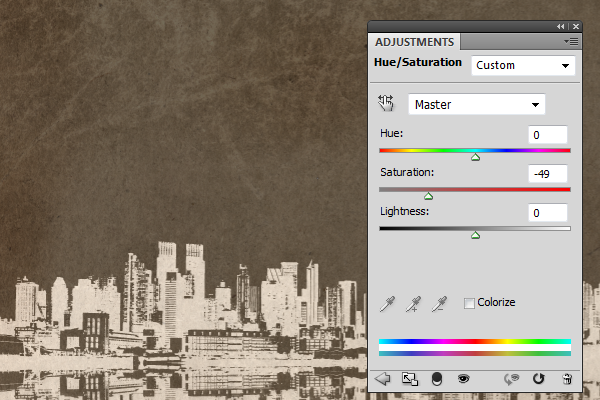
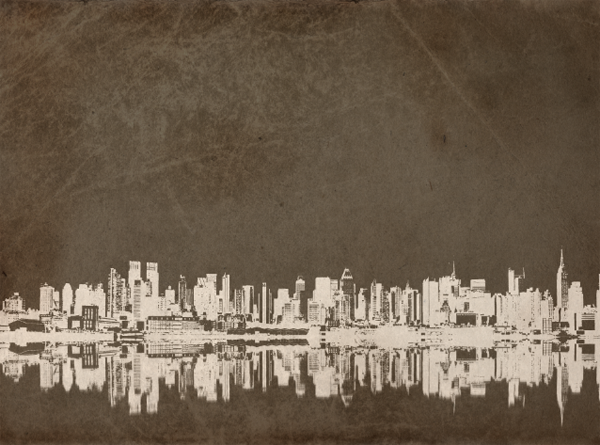
Here’s what the image looks like so far:
Step 8 – Place the photo of the dancer
Choose File > Place then browse for the image file and click OK. Resize the image if necessary then press enter on your keyboard to apply the changes.
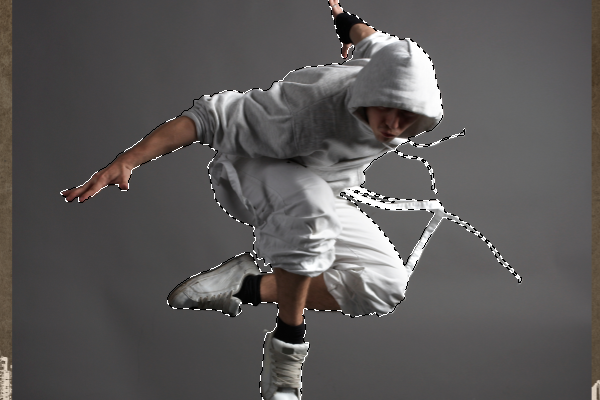
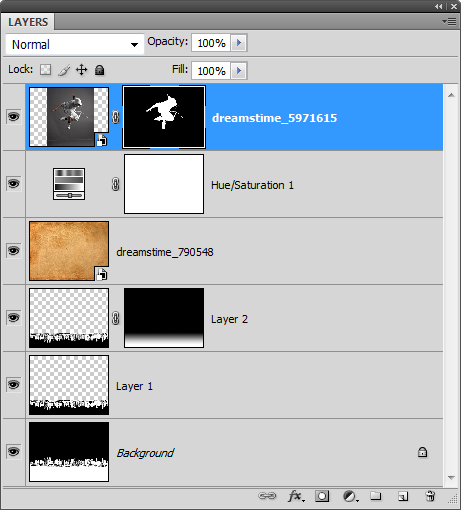
Step 9 – Mask out the background
Use the magic selection tool to create a selection of the dancer. If you are using Photoshop CS2 or older, you can use the extract tool (Filter > Extract) instead.
If you created a selection with the magic selection tool, click on the  button in the layers palette to create a mask. If you are using Photoshop CS2 or older and used the extract filter instead, do not add a layer mask.
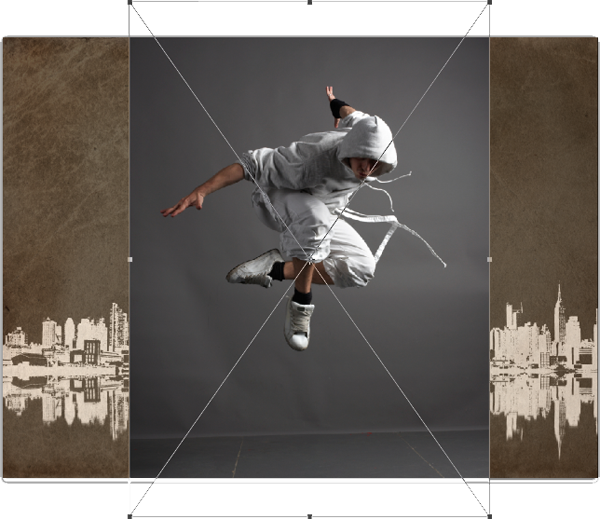
Step 10 – Position the dancer to the right side
Select the move tool from the toolbar and move the dancer to the middle right like shown in the image below.

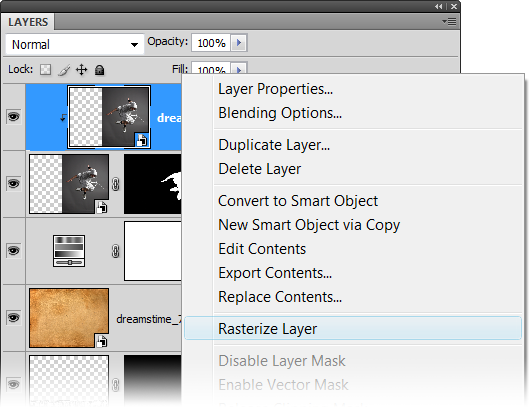
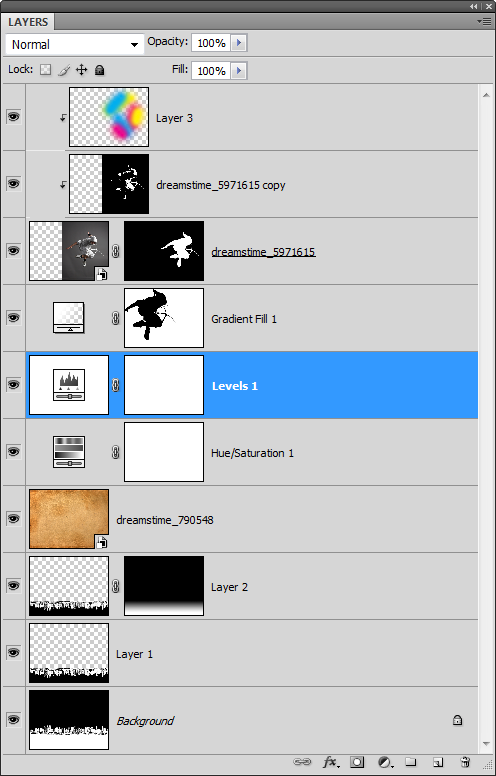
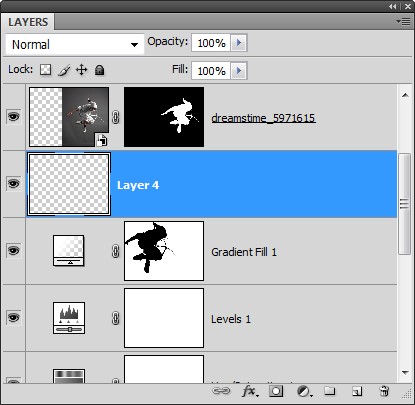
Step 11 – Setting up the layers for the posterized effect
First, we’ll need to setup the layers so that we can create a posterized effect on the dancer. Duplicate the top layer with the dancer.
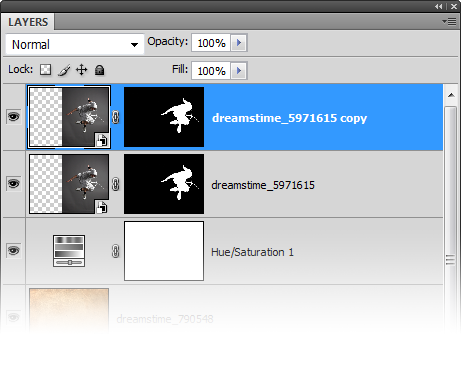
Click on the thumbnail of the layer mask then press the  button in the layers palette to delete the layer mask.
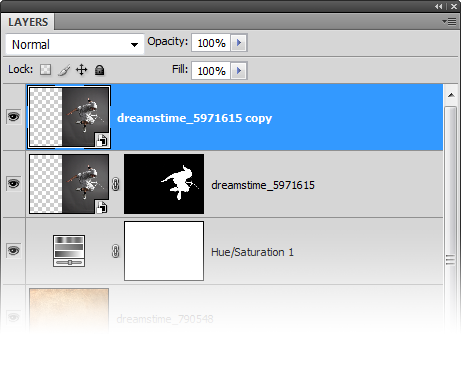
Choose Layer > Create Clipping Mask. This will make the current layer use the transparency from the layer below.
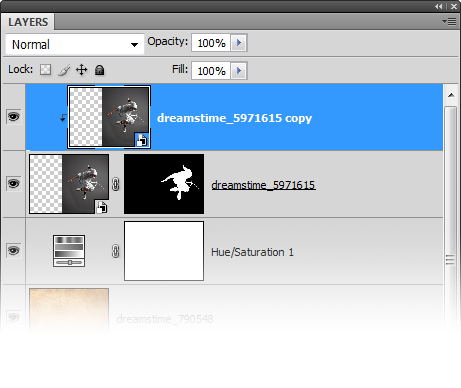
Finally, rasterize the layer. Right-click on the layer (not the layer thumbnail) then choose Rasterize Layer. If you are using Photoshop CS1 or older, you don’t need to do this because your layer should already be rasterized.
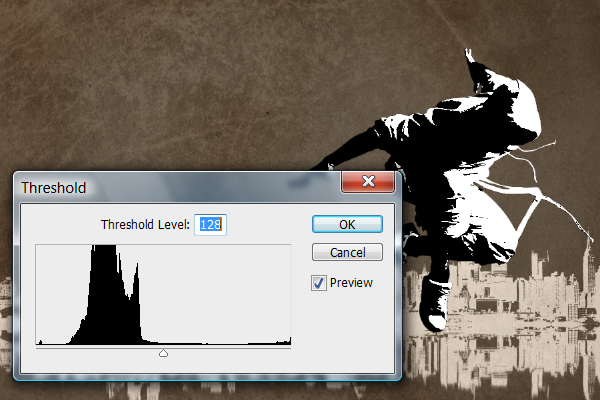
Step 12 – Create the posterized effect
Now that we have the layers setup properly, we can apply the effect. Choose Image > Adjustments > Threshold. Adjust the settings to get the results that you like then click OK.
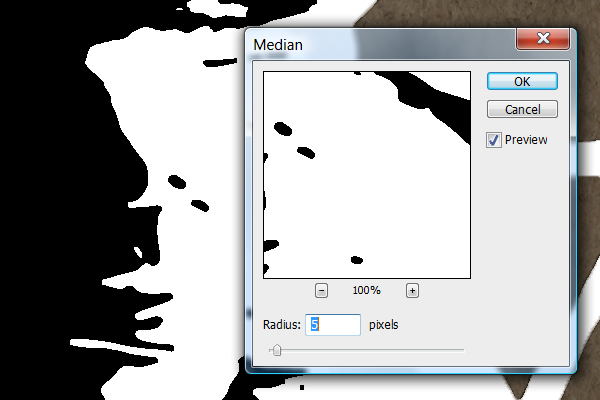
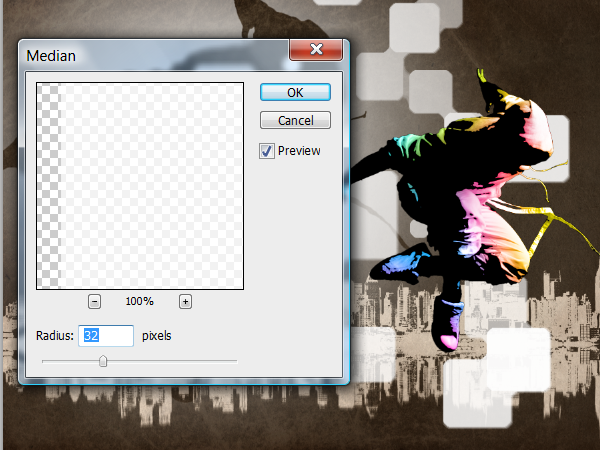
To smooth the edges, we’ll use the median filter. Choose Filter > Noise > Media and adjust the settings so that the edges are smoothed like the image below.
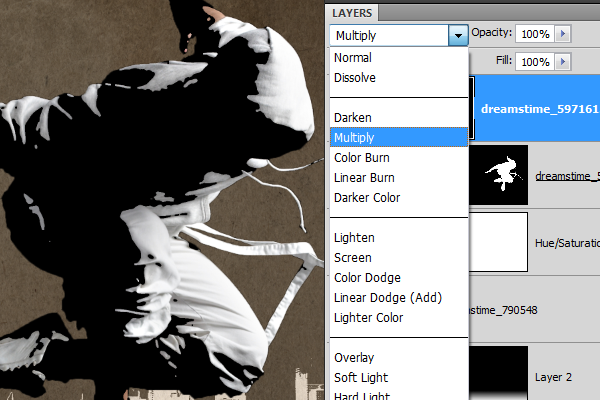
In the layers palette, change the blending mode of the current layer to multiply.
Step 13 – Add a retro color effect
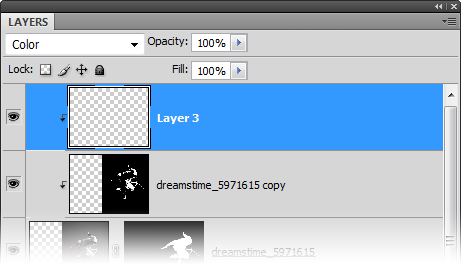
Start by creating a new layer (Layer > New Layer). Change the blending mode of the new layer to Color. Position the new layer as the top layer then choose Layer > Create Clipping Mask. Your layer should look like the image below.
If you do not already have the swatches palette in your workspace, choose Window > Swatches. In the swatches palette, click on the  button at the top right corner and select any one of the PANTONE CMYK swatches (ex. PANTONE color bridge CMYK EC).

Click on either the cyan, magenta, or yellow color from the swatches palette. It is the first three colors in the swatches palette.

Select the brush tool then right click anywhere in the document window to bring up the brush settings. Set the hardness setting to 0%.

Using a brush size that is about one third the width or height of the dancer, paint a streak from the edge. Then, switch to another color (cyan, magenta, or yellow) and repeat the process until you get something like the image below. For a more detailed tutorial about this, read Surprisingly Easy Rainbow Light Painting Effect.

Step 14 – Create a spotlight
For this effect, we will be using a gradient fill layer. Choose Layer > New Fill Layer > Gradient. Set the gradient as a white to transparent gradient as shown below.
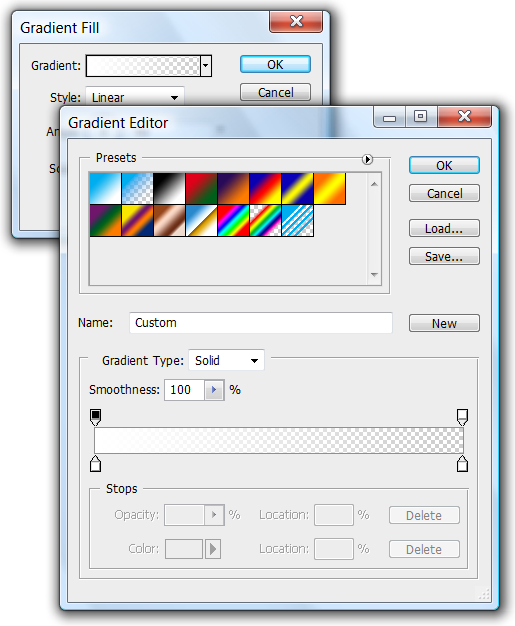
Apply the following settings:
- Style: Radial
- Scale: 150%
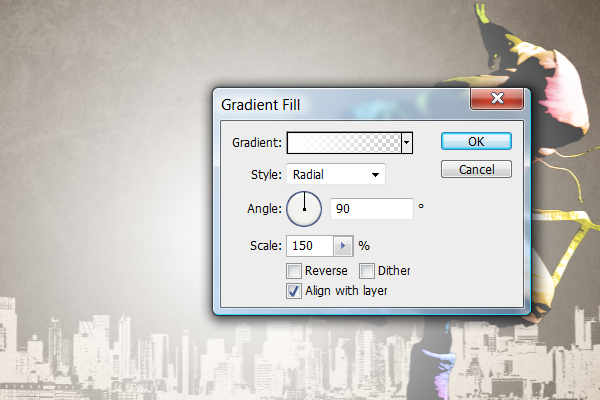
In the document window, click and drag the gradient to reposition it. Position it to the upper left side.

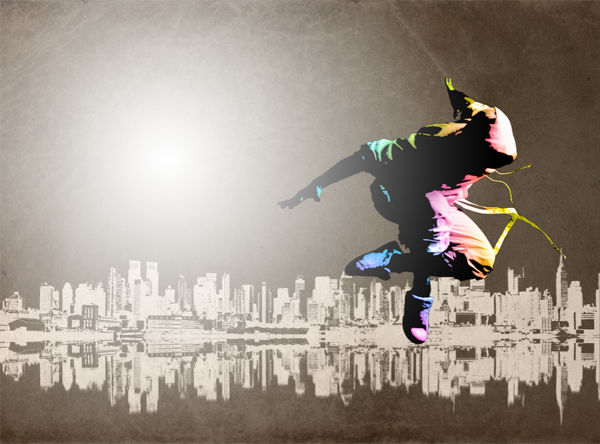
Here’s what the image looks like so far.
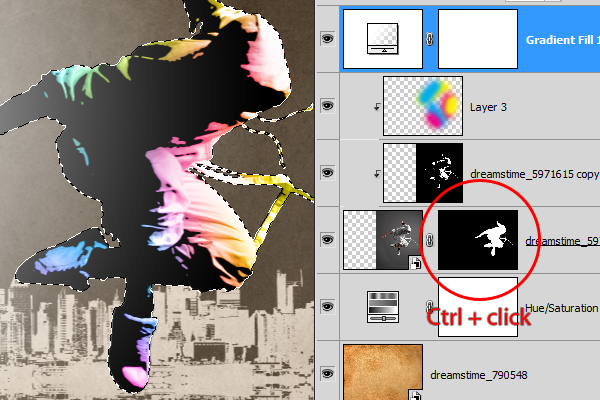
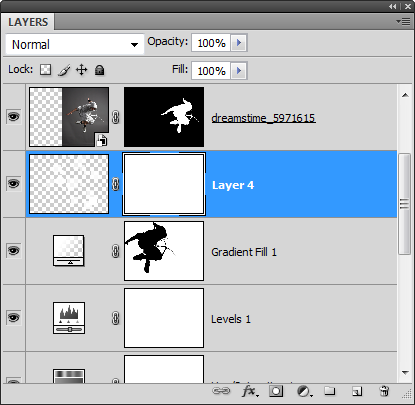
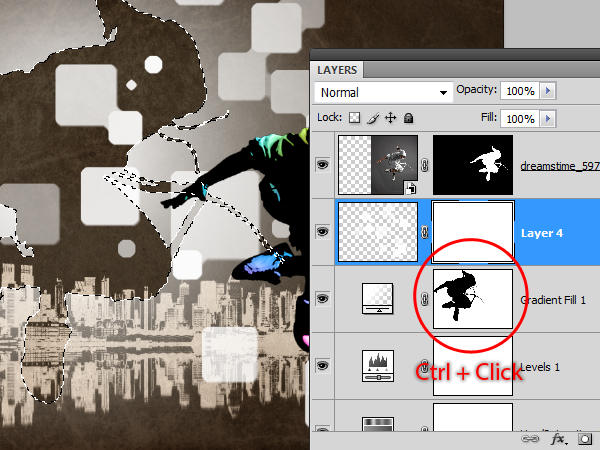
Step 15 – Add a shadow to the spotlight
Grab the selection of the dancer. To do this, hold down the Ctrl key then click on the layer mask thumbnail of the dancer. You should now see a marquee around the dancer like the image below.
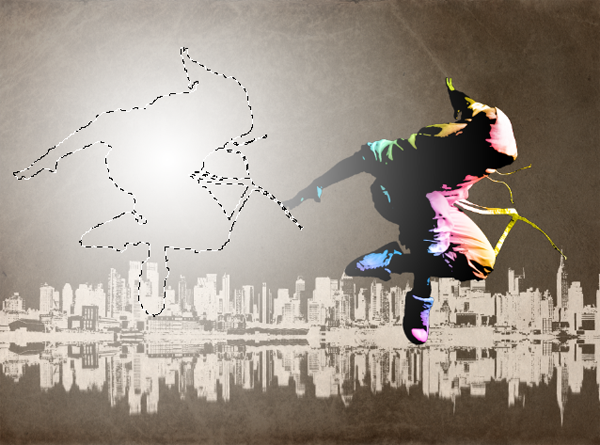
Select any of the selection tools (ex. magic wand). Click and hold inside the selection then drag it to move the selection. Only the selection should be moving and not the layer.
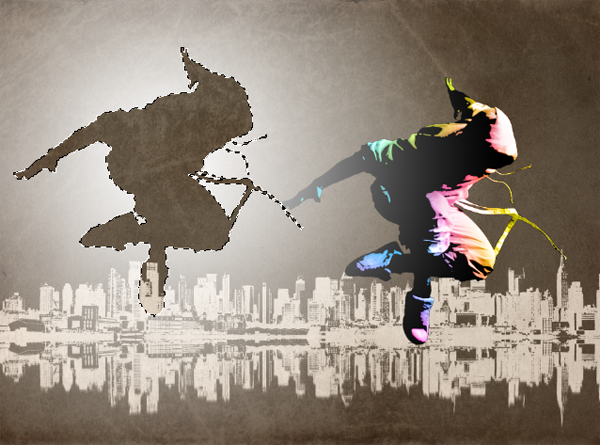
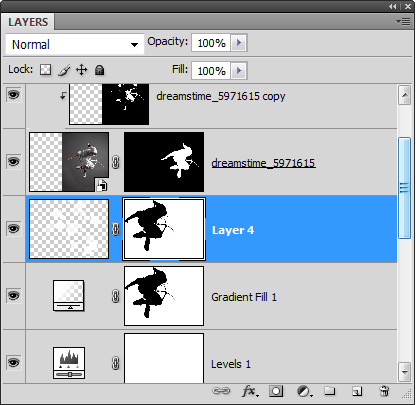
In the layers palette, click on the layer mask thumbnail of the gradient fill layer. Press delete to delete the selected area. You should now have a shadow like the image below. Press Ctrl+D or choose Select > Deselect to deselect the selection.
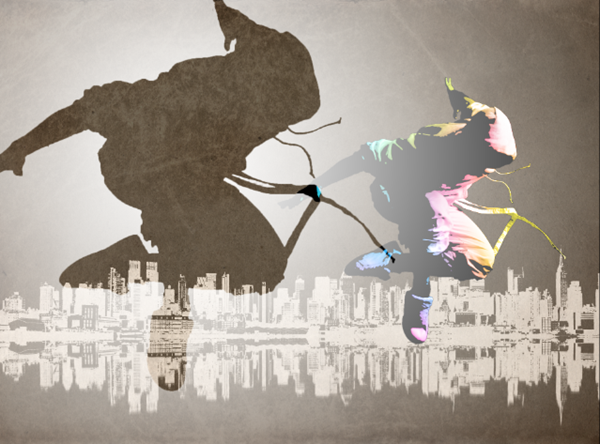
Activate the transform tool by pressing Ctrl+T or choosing Edit > Transform. Click and drag on the corners to enlarge the shadow. Move the shadow so that it is centered in the spotlight. Press enter on your keyboard to apply the changes.
Now we need to adjust the size of the spotlight. In the layers palette, double click on the  icon to edit the gradient fill layer settings. Adjust the scale setting so that it’s just large enough to cover the shadow. Reposition the spotlight necessary.

Here’s what the image looks like after the changes.
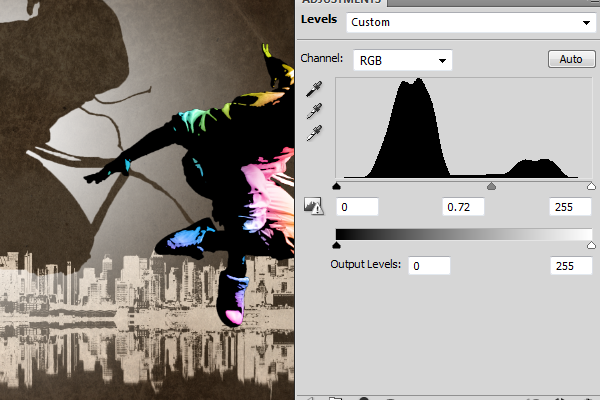
Step 16 – Dim the background
Select the Hue/Saturation layer then choose Layer > New Adjustment Layer > Levels. This will create a levels adjustment layer above the hue/saturation adjustment layer.
In the levels tool, drag the middle input slider towards the right to dim the background.
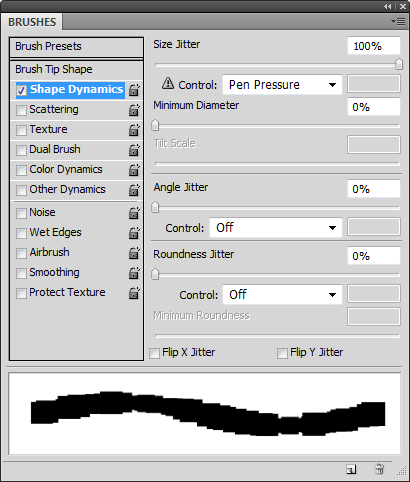
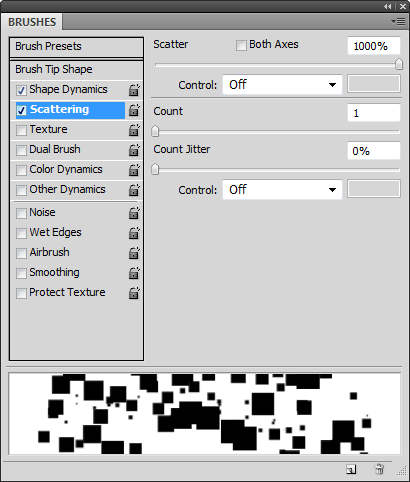
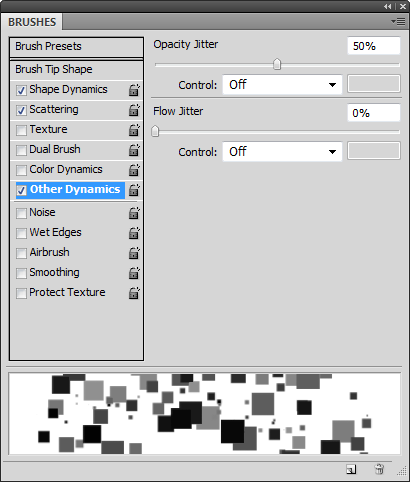
Step 17 – Create a contemporary pattern brush
Select the brush tool then open the brushes palette (Window > Brushes). Click on the button on the top right corner then select Square Brushes. When it asks if you want to append or replace, select append. Scroll down and select the 24 px square brush. It should be the last brush on the list.

Apply the settings as shown in the three images below.
Step 18 – Paint the contemporary pattern
Create a new layer and position it above the gradient fill layer.
With the brush tool selected, adjust the size of the brush so that it is about one third to half the width of the dancer. Set white as the foreground color then paint on the current layer. You may have to undo and repeat this several times to get a pattern that you like.

To finish the effect, choose Filter > Noise > Median. Adjust the radius setting until you get rounded corners like the image below.
Here’s how the image looks like with the contemporary pattern added. Next, we’ll add a layer mask to it to help visually connect the foreground with the background.

Step 19 – Create a mask for the contemporary pattern
With the contemporary pattern layer selected, click on the button in the layers palette to add a layer mask.
Load the selection from the gradient fill layer mask. Hold the Ctrl key and click on the layer mask thumbnail of the gradient fill layer. Choose Select > Inverse to inverse the selection.
Ensure that you have the layer mask of the contemporary pattern layer selected. It should have a white border around it to indicate that it is active. Press delete to clear the selected area then press Ctrl+D to deselect. Your layer mask should look like the image below.
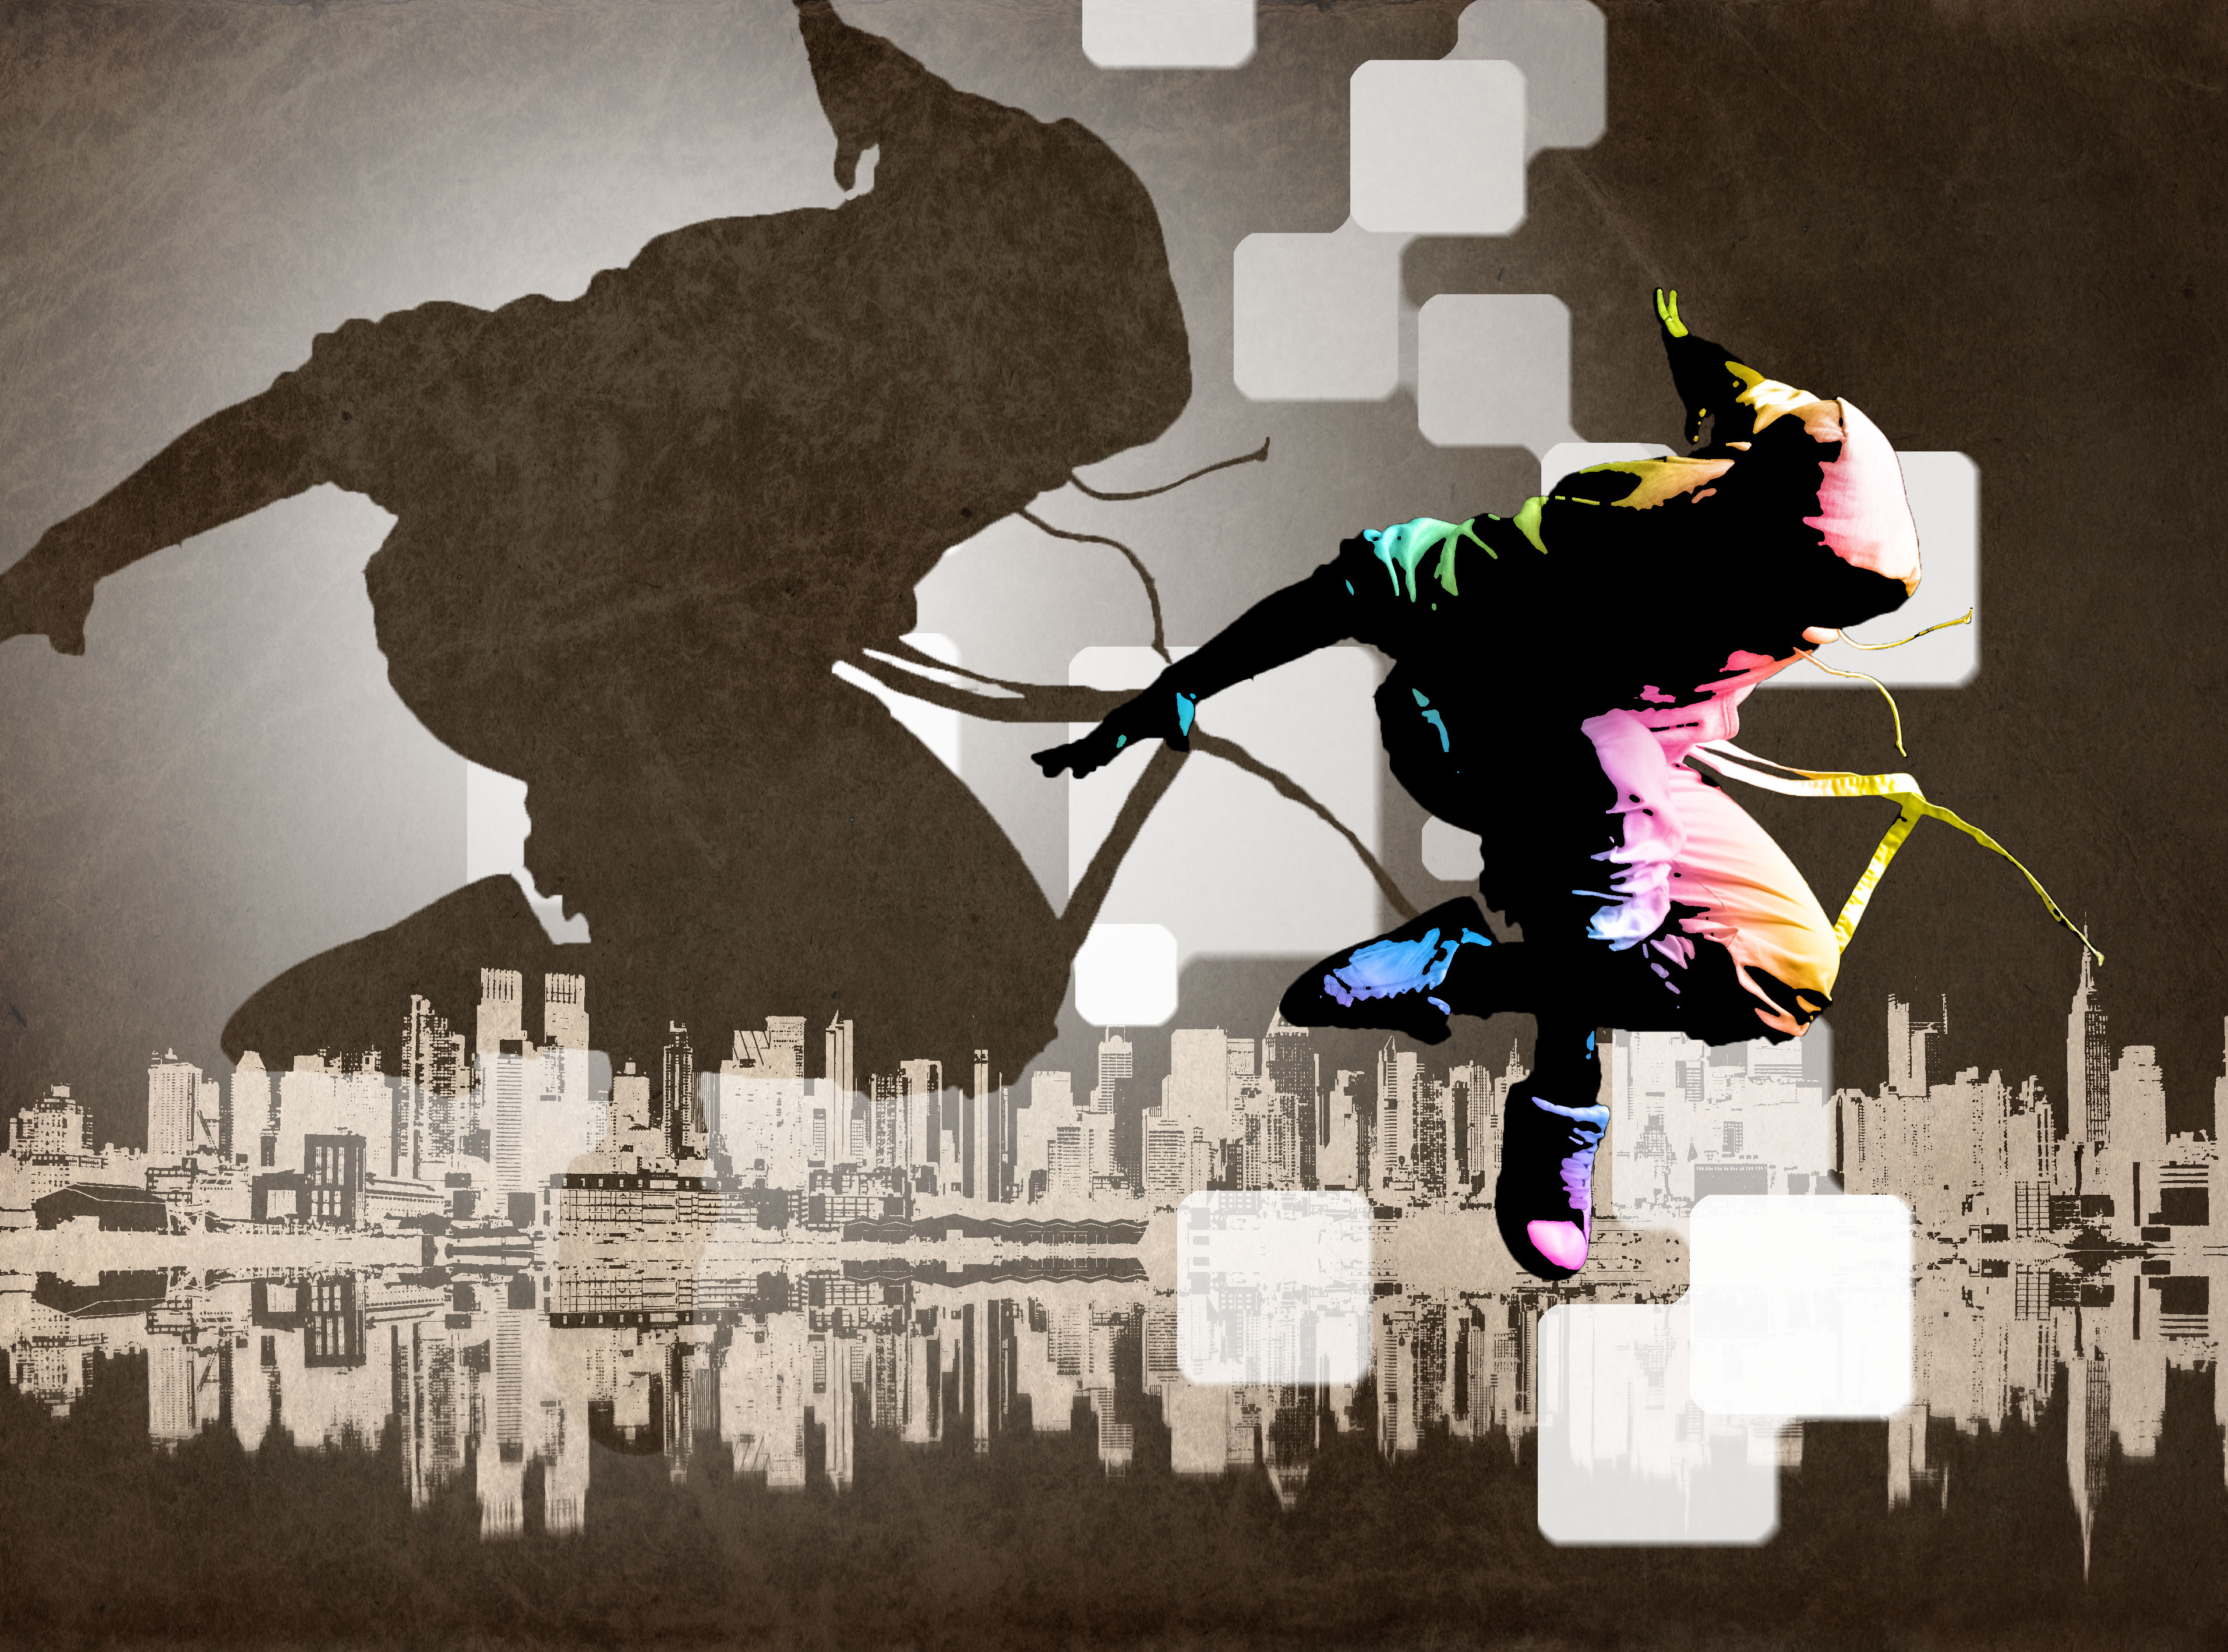
Final Results
Click on the image to view the full image